
Contents
1. Things You Can Do with a DIY RF Detector
Building an electronic bug detector might not help you become a spy, but you’ll know when someone is secretly trying to tape you.
An anti-spy or GPS detector is important if you travel often and stay in hotel rooms.
In addition to its use as a surveillance device, you can do this with RF detectors:
- Tactical entry or assault
- As a baby monitor to prevent Sudden Infant Death Syndrome (SIDS)
- Presence-of-life detectors to locate people buried in rubble
- Detecting land mines
- Automotive backup radar
- Fluid-level sensing
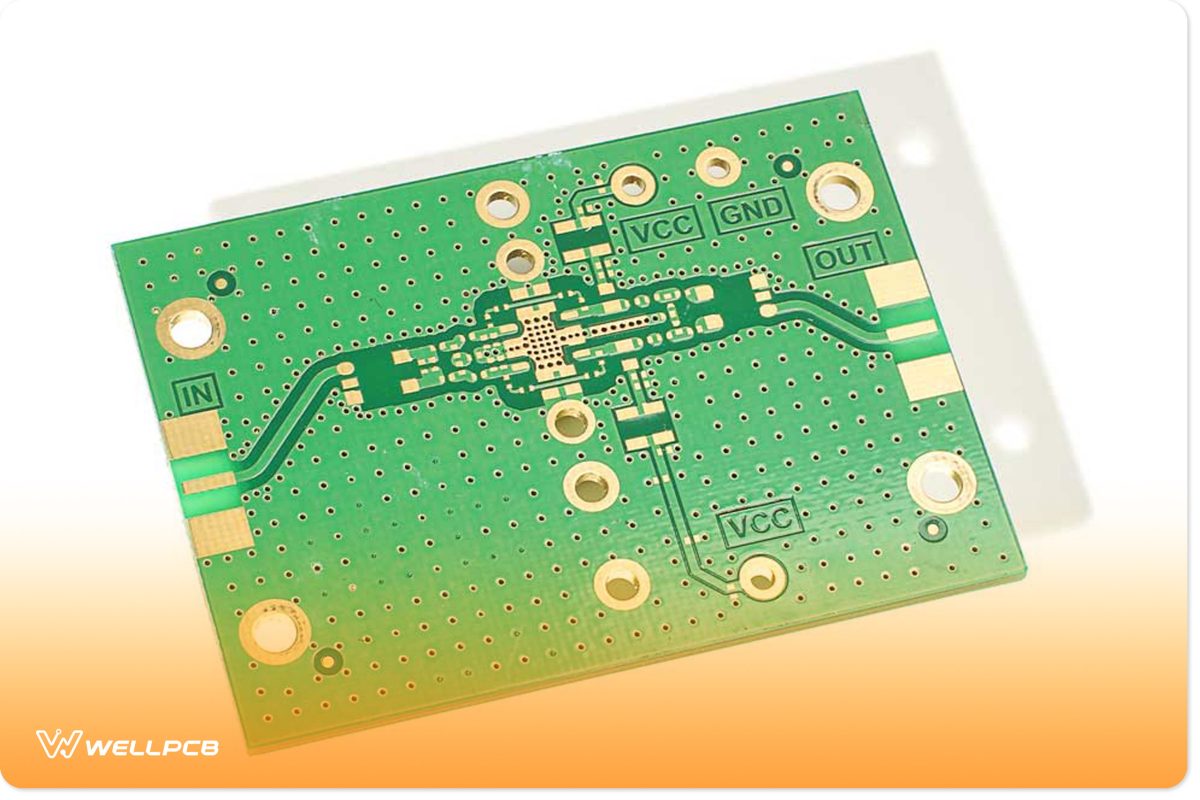
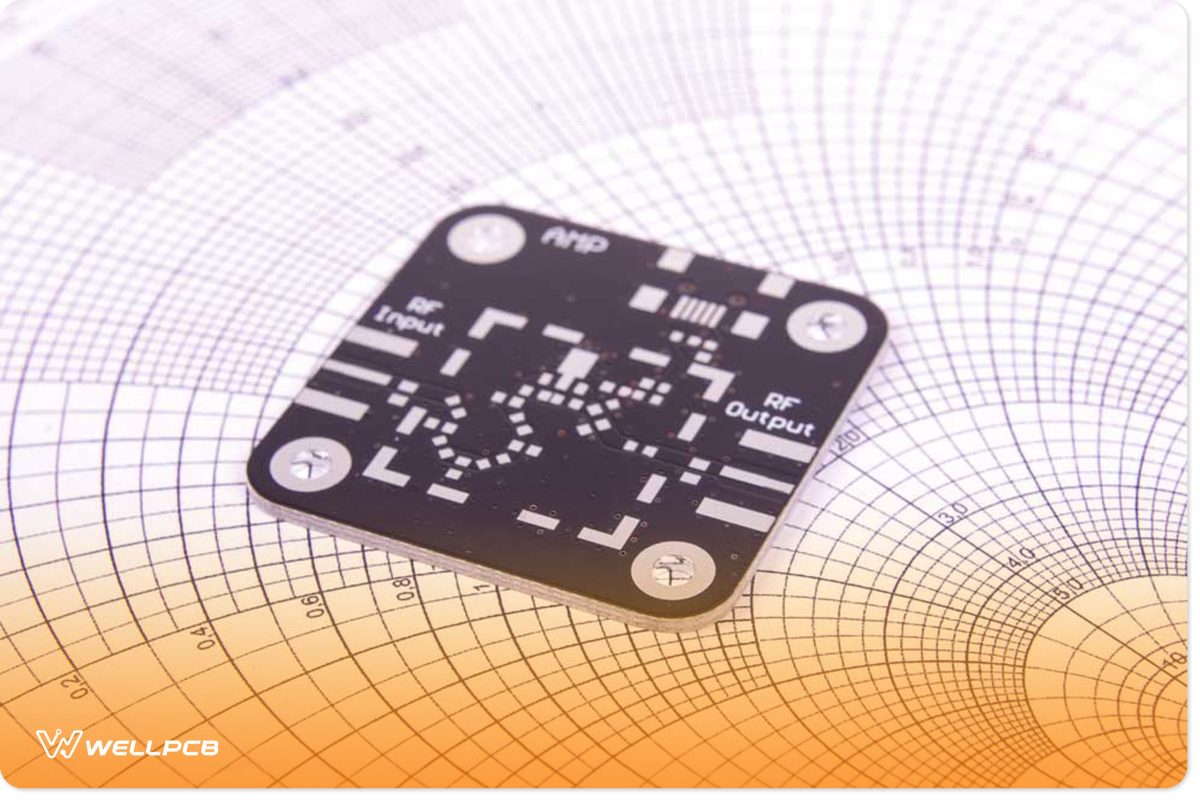
RF amplifier PCB isolated on a white background
While the anti-spy detector will prevent someone from listening in on your conversations, it has other practical purposes in ordinary, everyday life.
For instance, a radio frequency wall imager and cell phone wall scanner are used to locate nails, pipes, and framing studs in construction work.
“Do-it-yourself” homeowners, electricians, and carpenters use this product as a stud detector to find where structural damage lurks behind wallboards.
Therefore, technicians use RF detectors to discover out-of-sight problems and vulnerabilities caused by punctured phone wires, video wires, and alarm systems.
In other words, the effectiveness depends on the frequency range. The simplest RF Signal Scanner Device Detector usually has a meter to show the strength of its receiving signals. Or a simple interface like a bug Detector LED to light up when they identify RF signals.
2. How to Build a DIY RF Detector
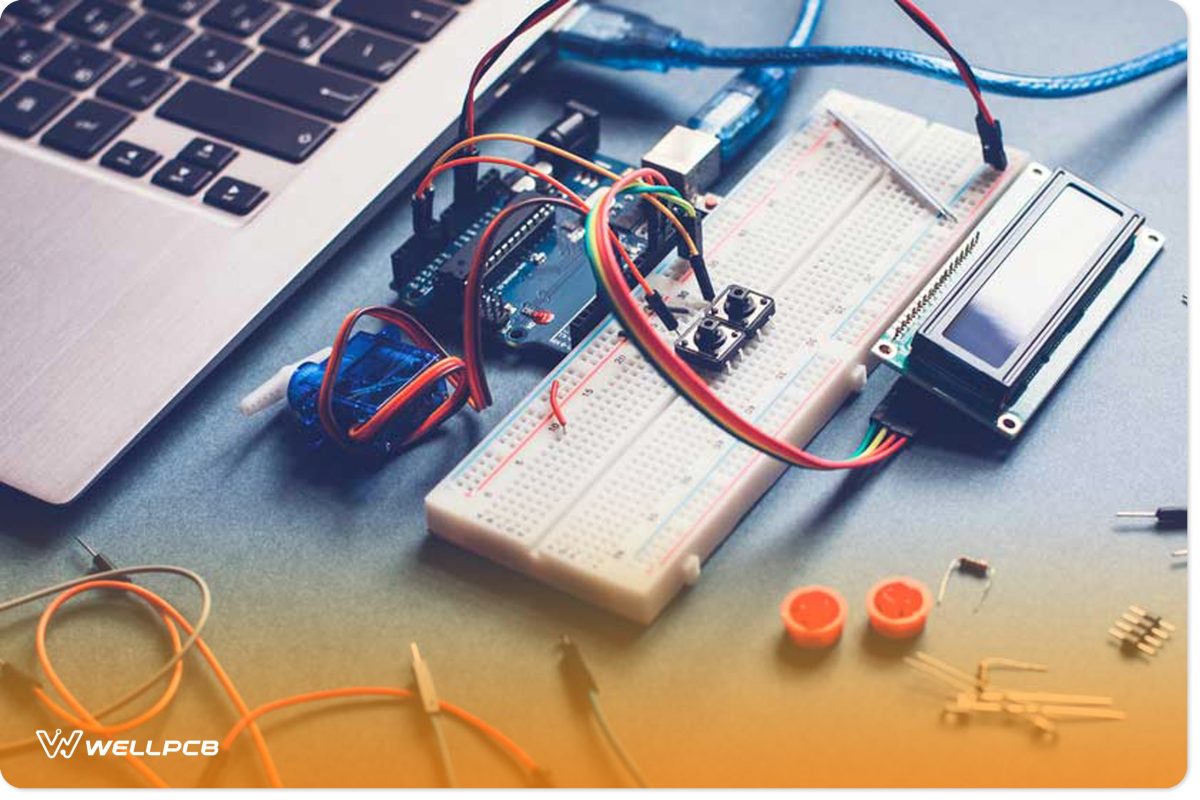
Man-building DIY project
Building an RF signal detector is simple. The products needed are cheap and can easily be acquired.
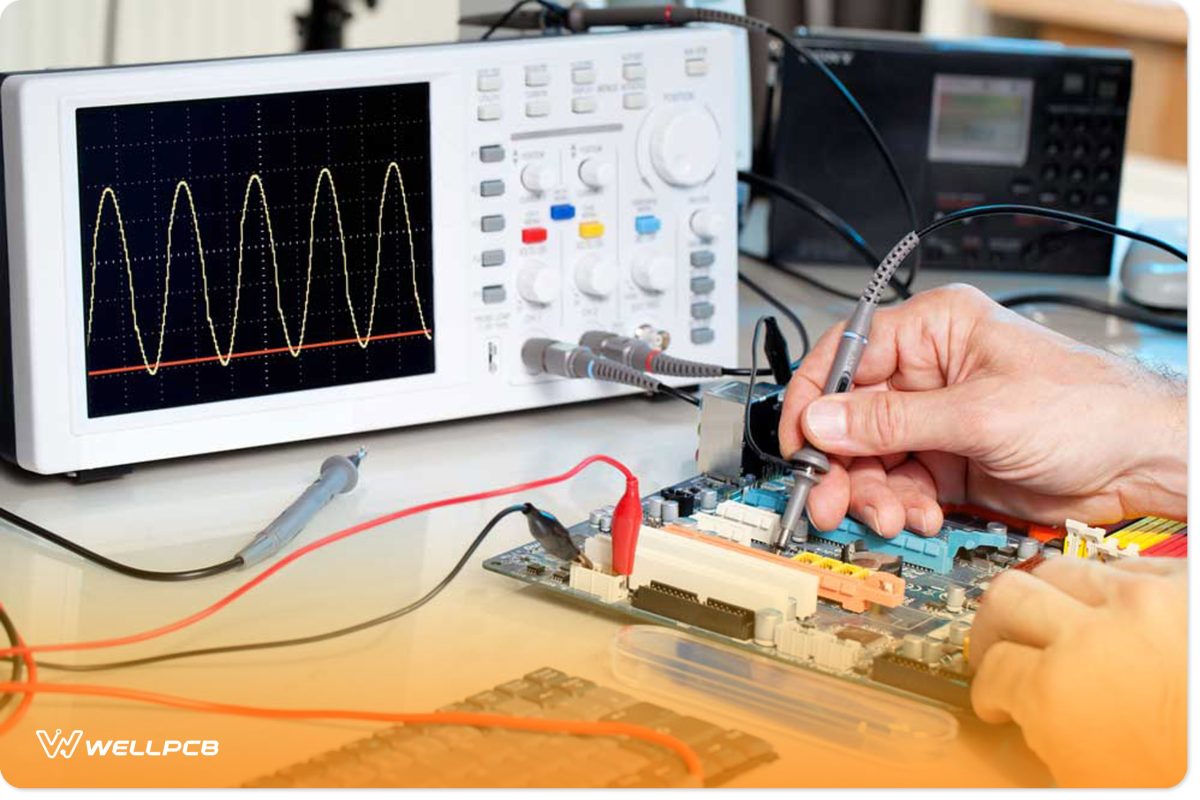
Technician workspace
These are the materials and tools needed:
- Screws
- Soldering iron
- Glue
- Cotton swab
- Toothpick or stick
- Epoxy
- BNC connector
- 2 x 41-AWG enameled copper wire
- Brass tube with a 0.09-inch diameter
- Wire strippers
- RF voltmeter
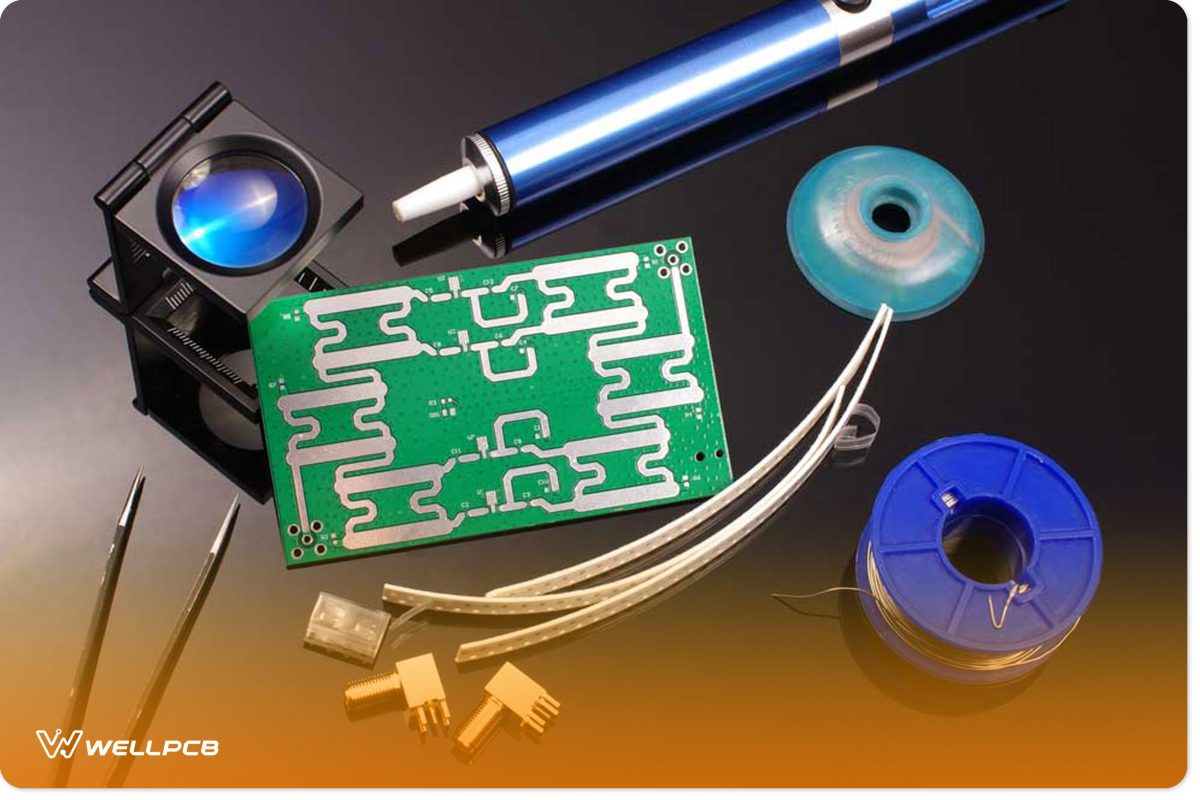
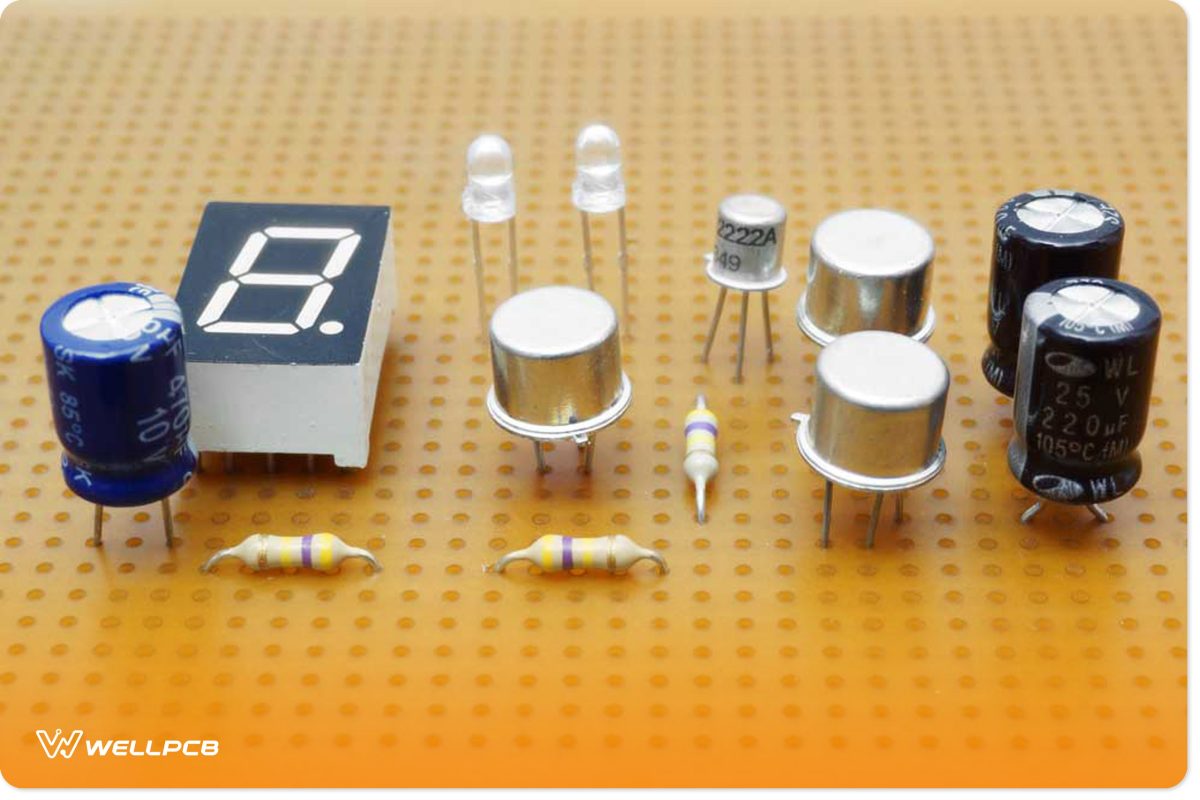
Homemade RF Circuits parts
Practical step-by-step process
Prepare the workspace:
Place the materials on a table with ample space and within arm’s reach.
Strip the main cable:
Proceed carefully to prevent damage to the enameled copper. Use the wire strippers to remove and strip the ends of the AWG wire.
Consequently, you should have cables or electric wires with two ends without coating, with their enamel copper exposed.
Make a coil:
Now you have the bits of copper wire exposed, use it to make a coil of about 19 turns around one end of the toothpick or stick.
Apply the glue:
Before applying the glue to the coil’s end, ensure it’s securely fastened to the stick or toothpick. The glue must stick permanently to choose the right glue for this purpose because not all can work effectively with any material.
Incorporate the brass tube by running the other end of the wire through it. The brass tube should have a 0.09-inch diameter. Use the wire strippers to strip another 0.5-inch wire starting from the end of the tube.
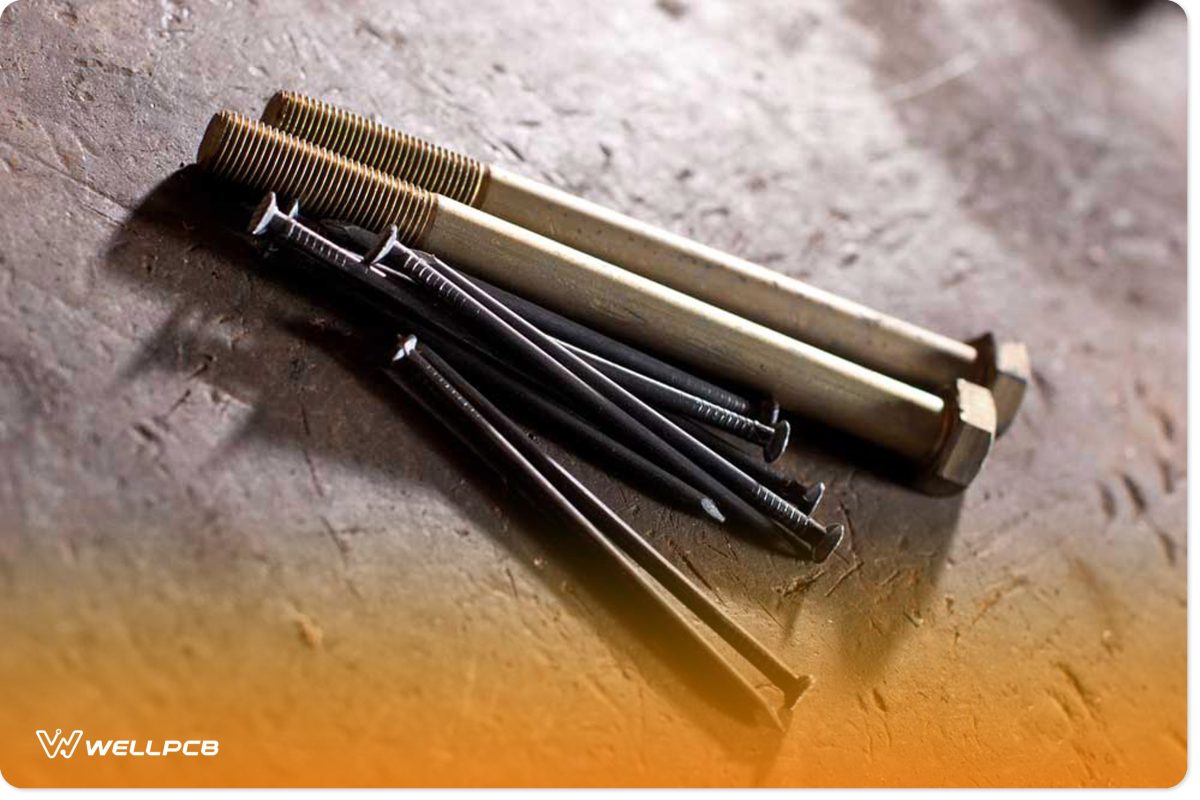
DIY Tools and Circuit Idea Preparation
Make the connection:
There are now two wires from the stripped wire. Solder one of the 41-AWG copper wires to the positive (+) end of the BNC connector and the other to the BNC connector’s negative (-) contact.
Use the epoxy to attach the BNC connector to the brass tube.
Apply glue and wait for it to dry:
Apply the right amount of glue to the cotton swab. Rub it on either side of the coiled wire around the neck of the toothpick.
Ensure the copper wires adhere sufficiently to the sides of the brass tube. Wait patiently for it to dry.
Incorporate the RF voltmeter:
Attach the BNC connector to the RF voltmeter by screwing the BNC connector to the corresponding female BNC connector found on the RF voltmeter.
Then turn on the voltmeter. Although a multimeter can be used similarly, it is a more challenging setup.
Test the device:
This is the moment of truth. Move the brass tube around to see how it operates.
If the number displayed on the voltmeter increases, then the device has identified another frequency from a possible bug or electronic listening device.
Unassembled Radiofrequency printed board
3. The Common Mistakes Encountered When Building DIY RF Detectors and How To Avoid Them
A hand holding tweezers on an electric circuit
There are several ways to build a homemade RF detector. Avoid these common mistakes when building a homegrown device.
Mistake 1: Not Waiting for the Glue to Completely Dry
Impatience during the building process is counterproductive, especially when applying glue to connect the BNC connector to the brass tube.
If you don’t give it enough time to dry, the glue can disrupt the proper functioning of the RF device you are trying to build.
Building a complete circuit diagram
Mistake 2: Not understanding the Range of Signals Limitations of a Homemade Device
This simple, low-cost phone RF signal detector will allow you to identify unexpected signals in a room or office.
However, devices from radio frequency signals might need to have more.
Conclusion
An RF detector has several applications. The most important is detecting the presence of listening devices to ensure no one is surveilling or invading your privacy.
You can build an RF detector using the affordable tools and materials in this article.
Just follow the steps specified, and you’ll have a homemade device easily.


