Contents
What is a Radio Repeater?

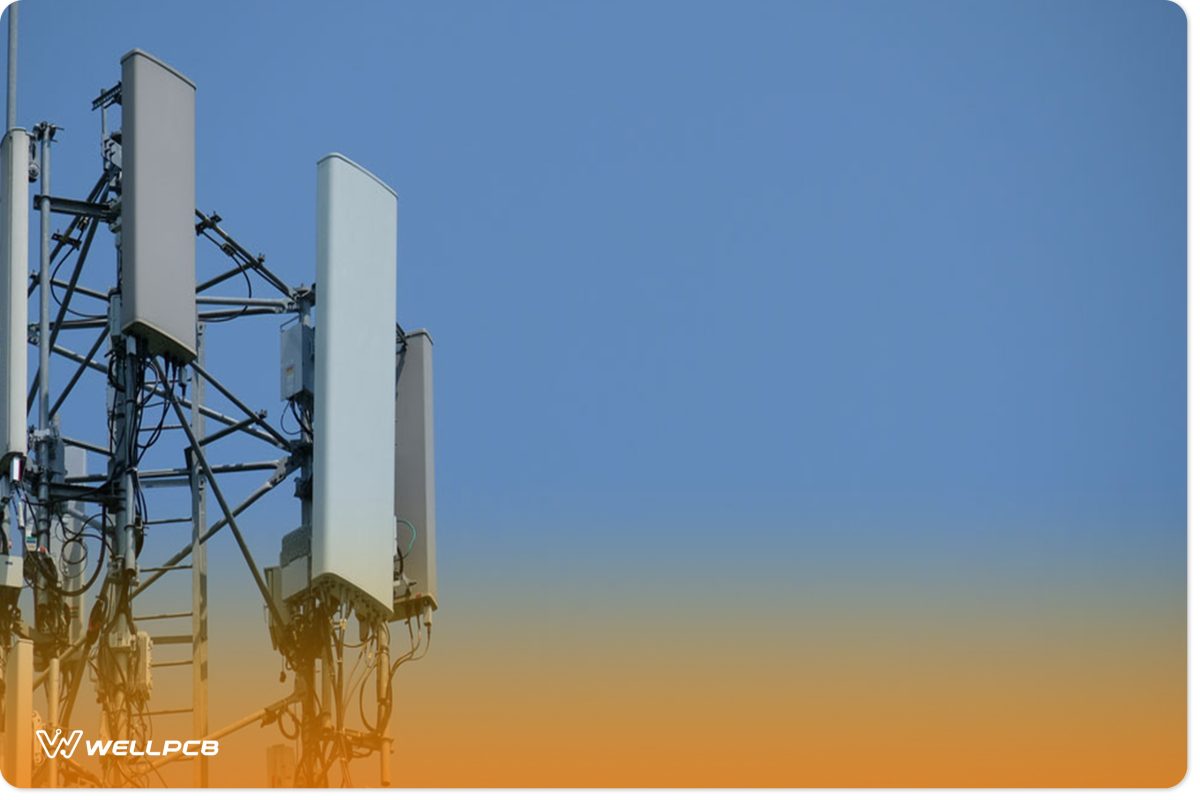
Radio repeater tower
No doubt, radio waves are helpful for communication. That said, the two-way radio signals travel from one point to the other in straight lines to complete duty cycles. However, radio waves can travel through and around things—though this drastically affects the signal. In other words, radio waves that travel through objects will lose clarity and signal strength.
So, this could be problematic—especially when you’re using mobile radios in high-altitude areas like mountains or hilly areas. Sometimes, the large distance between the radio receiver and the radio transmitter could cause signal weakness on flatter terrains. As a result, the signal may be lost or have reduced quality.
Luckily, there’s a solution to this problem, and it’s the radio repeater. Radio repeaters are devices that allow two-way radio systems to transmit signals over great distances without distortion from mobile radios.
Further, two types of radio services use the radio repeater for enhanced communication:
Half-Duplex Communication Devices

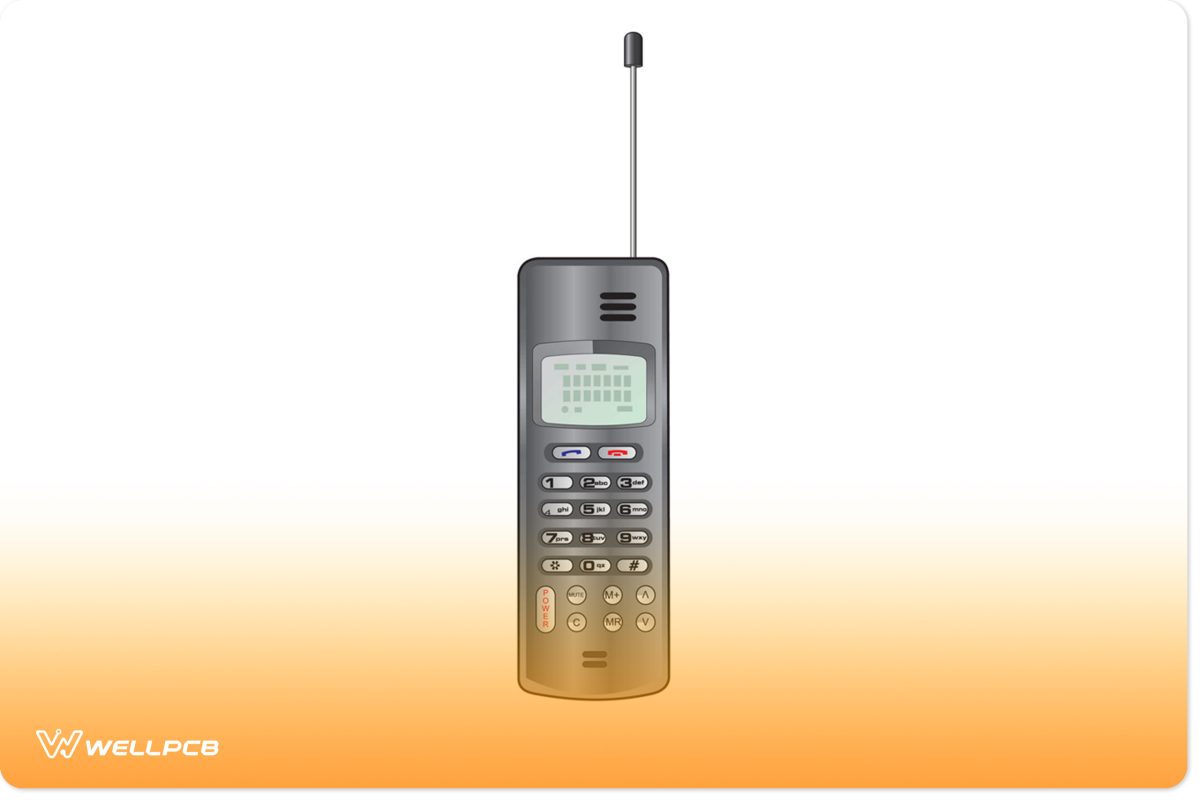
Half-Duplex phone in EPS10
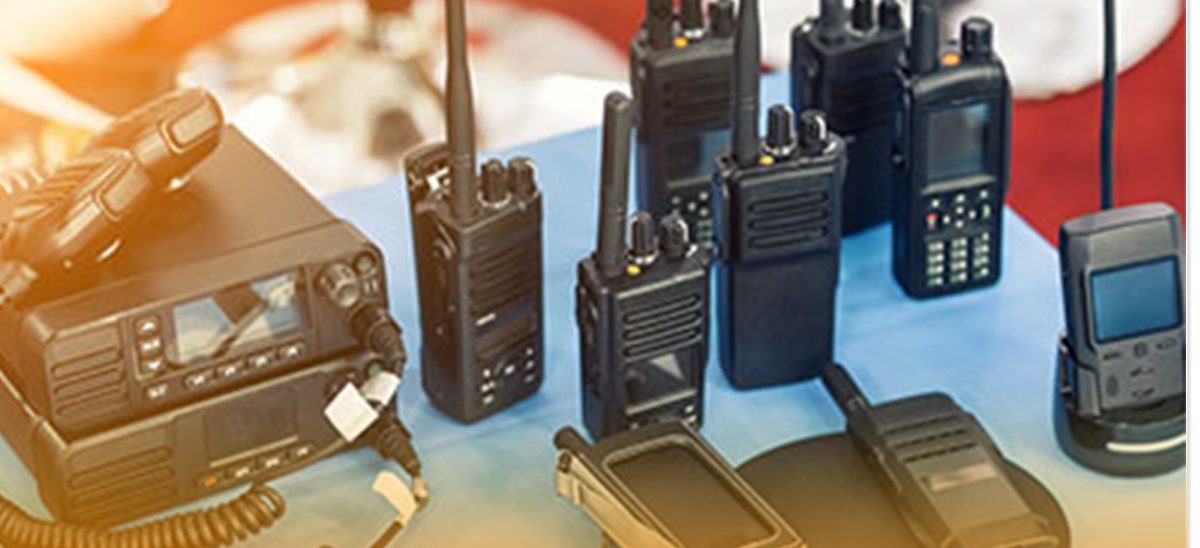
These are devices that can only transmit signals in sequence. Also, it means that this type of device only allows communication in one direction at an instant. An example of this is a walky-talky. Once you speak through a walky-talky, the receiver can’t give simultaneous replies. So, communication takes place one at a time.
Full-Duplex Communication Devices

Full-Duplex phone
These devices, on the other hand, allow simultaneous communication between two parties. For these two-way communication devices to work, you need two transmitters and two FM radios to create full-duplex communication. Interestingly, commercial businesses mostly use these devices for communication within range or get an effective communication range.
How Does a Radio Repeater Work?
Radio repeaters serve one purpose, and it’s to ensure that clear signals can travel greater distances.
But how does it work?
A radio repeater can receive radio signals and re-transmit them simultaneously. Plus, it does this at higher power for different band frequencies. Also, it allows the audio signal to cover large distances and obstructions.
You can find a repeater station at the top of a very tall building or hill. Plus, it’s normal to find repeater stations positioned in locations ideally central to the area you want to transmit or receive signals. So, it’s safe to say that the radio repeater gives signals a substantial boost.
The radio signal received by the radio repeater is the input frequency, while the re-transmitted signal is the output frequency.
Hence, using a two-way radio with a radio repeater means programming the radio to transmit on the input frequency bands of the repeater and receive on the repeater’s output frequency.
An excellent example of how the radio repeater works is the walky-talky. As we mentioned earlier, walkie-talkies are half-duplex communication devices that allow communication to happen simultaneously. However, there can be obstacles to the transmission of signals from point A to B. As a result, the receiver will get distorted signals with weak signal strength.
Adding a radio transmitter to the mix would help avoid issues like this and provide a wider transmission range so the receiver will always get clear signals.
How to Build a Radio Repeater
There are two types of radio repeaters which are the simplex and ham radio repeater. Here, we’ll focus on how to build a simple simplex repeater.
The simplex radio repeater is an easy and budget-friendly project that you need to interface with a transceiver. Fortunately, the simplex radio repeater is easy to interface with most transceivers. The best part is that you can build this project with readily available parts. With that in mind, let’s look at the components required for this project.
Components
- Semiconductors

- U1-SD1000A Voice Record/Playback IC (RS 276-1325)
- U2-7805 5 V voltage regulator

- U3-74LSOO quad NAND gate IC
- U4-74LS74 dual D flip-flop IC
- Q1, Q2-2N3904 NPN transistors

- Resistors (All fixed resistors are 1/4-watt, 5% units):
- R1-1K ohm potentiometer

- R2-15K ohm
- R3-1K ohm
- R4-2.2K ohm
- R5, R8-4.7K ohm
- R6, R7-20K ohm
- Capacitors:
- C1, C2, C3, C4, C5, C6-Q.22-~F capacitor (RS 272-1070)
- C7 -220-~F electrolytic capacitor ( AS 272-1029)
- Connectors
- Solder
- Soldering iron
- Breadboard
- Power supply
Steps
Here’s how to create this simple simplex portable repeater in three steps:
Step 1: Design
First off, you need to get your designs ready. We’ve already made a simple design for you (in the diagram below), but you can make yours or add some tweaks.
However, if you choose to use our design, here’s how it works. The point J1 is the input of the COS signal from the radio. For you to receive an audio signal, the COS signal needs to be greater than 0.7v.
Additionally, this switches the transistor (Q2) to the ground. When this happens, the play/record pin of the U1 goes low and places the U1 in record mode.
You can set up NAND gates (U3B and U3C) as your inverters for the generation of high output.
Next, set up your potentiometer (R1) so you can control the volume of the audio out signal.
U2 in this build is a 5v regulator. You can use this to allow connections to various unregulated DC supplies ranging from 7v to 12v.
On the other hand, you can connect a regulated 5V power supply to the VCC points of your build to eliminate the need for a U2.
Step 2: Interfacing
Next, interface your simplex radio repeater to the radio by connecting the six input/output pins in the following order:
- Connect the J1 (COS) to the carrier-operated squelch of the radio. That said, it must supply a value greater than 0.7v if you have a carrier and less than 0.7v if you don’t have a carrier.
- Connect the J2 (Vcc) to an unregulated DC input ranging from 7v to 12v
- Attach the J3 (audio out) to the audio input of the radio. While you’re doing that, ensure that you adjust the volume of R1 to an acceptable level
- Ground the J4 (push-to-talk) of the radio to the key of the transmitter. That way, you can control your transmissions
- Connect the J5 (audio-in) to the output of the radio
- Attach the J6 (GND) to the ground of the radio
Step 3: Finish Up
Finally, you can power up your simplex repeater and get it ready for use or emergency radio coverage situations.
Final Words
Overall, the radio repeater is essential for the recent advancement in radio technology. It helps deliver precise and audible signals from one point to another when there’s inadequate radio coverage. So, if you have ever wondered how people communicate over large distances, here’s your answer: the radio repeater.
That wraps up everything you need to know about radio repeaters and how to make one. If you have issues directly interfacing your simplex receiver to the radio, try getting interfacing hardware to fix the problem.
Feel free to contact us if you need more information.


