
Contents
What’s a NAS?
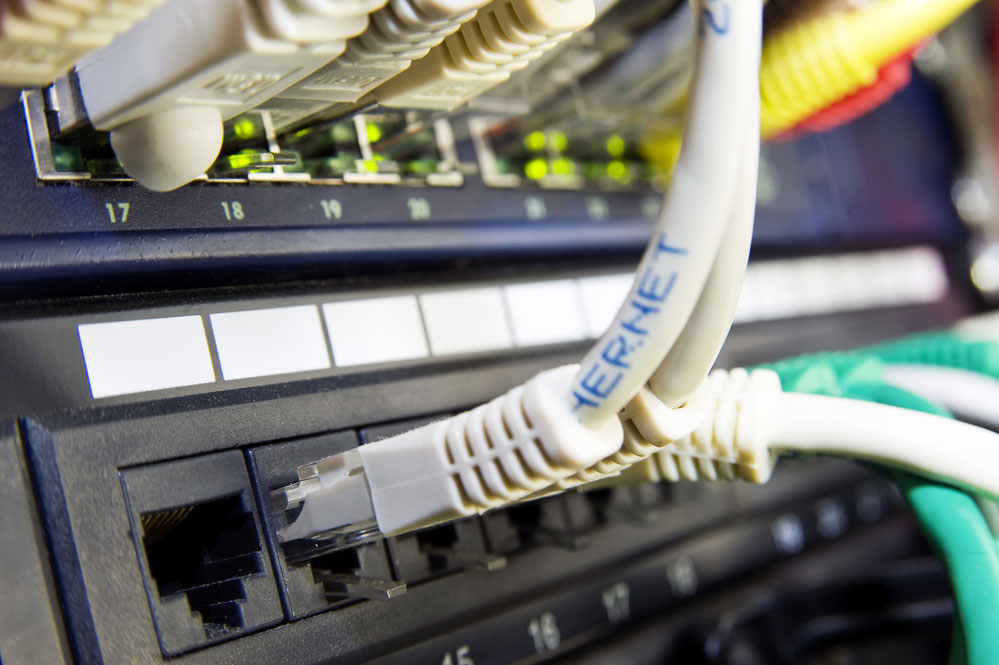
Fig 1: Ethernet switch and patch panel in a professional server configuration
NAS is a reliable system that enables the sharing of files from an always-on device for easy retrieval.
Hence, while your conventional computer can ably do that, a NAS is more effective as it consumes less power. Also, the PC is not primarily designed to run around the clock as a NAS would.
However, while the conventional NAS is better than a PC, it’s not a low-powered device than a Raspberry Pi-powered NAS. Hence, converting a Raspberry Pi to a NAS improves power efficiency and is relatively cheaper.
Raspberry Pi as a NAS server – is it a good choice?
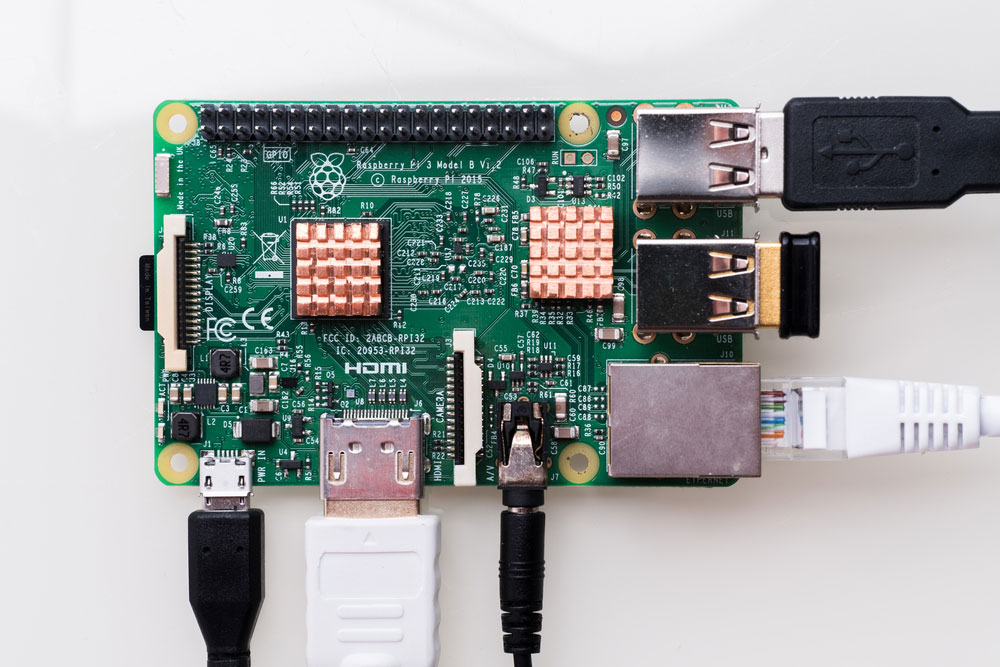
Fig 2: Raspberry Pi – single-board computer
There is a myriad of reasons why a Raspberry Pi is a good choice as a NAS:
- First, a Raspberry Pi NAS server is relatively cheaper than purchasing an entire NAS system.
- It’s also useful for basic network file access applications.
- Also, it will save on energy costs as it operates on low power supplies. Hence, it’s handy where power management is a key concern.
- Third, it is portable and compact. Hence, you can use it permanently or in a remote location.
- Further, the Raspberry Pi NAS can operate on a standard battery pack. It’s also compatible with external USB drives.
- Finally, it is also easy to customize to accommodate additional users.
Nevertheless, it still has a fair share of downsides that include the following:
- It is relatively inferior to a PC in terms of processor power.
- And it has a lower transmission rate than commercial NAS systems.
- Finally, it’s not best suited for video-on-demand and HD video streams.
Despite its shortcomings, it’s a feasible DIY project for a simple external storage system.
How to use your Raspberry Pi as a NAS box
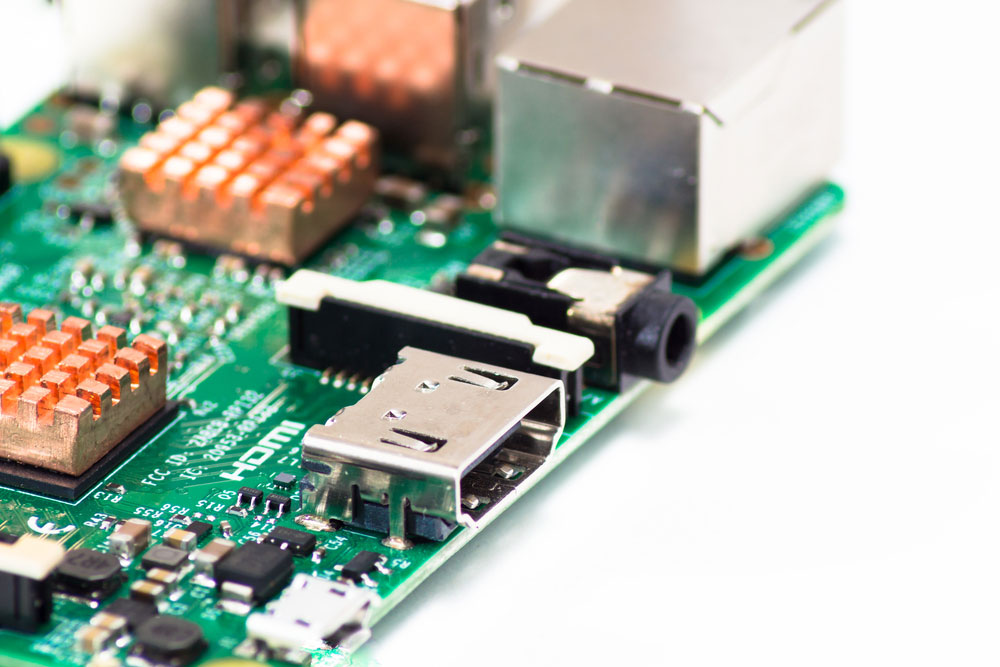
Fig 3: Raspberry Pi single-board computer
Project Requirements
You’ll require the following components for this project:
- General-purpose Raspberry Pi systems
- A USB-C power supply unit type
- A Cat6 ethernet cable
- 7-pin cable
- 7 pin connector
- 3 pin connector
- An external storage device of your preferred bit of network storage
- A control object
- Storage Kit (Disk drive, network drive)
- A 2.5-inch SSD/HDD storage function.

Choosing General-purpose Raspberry Pi system parts
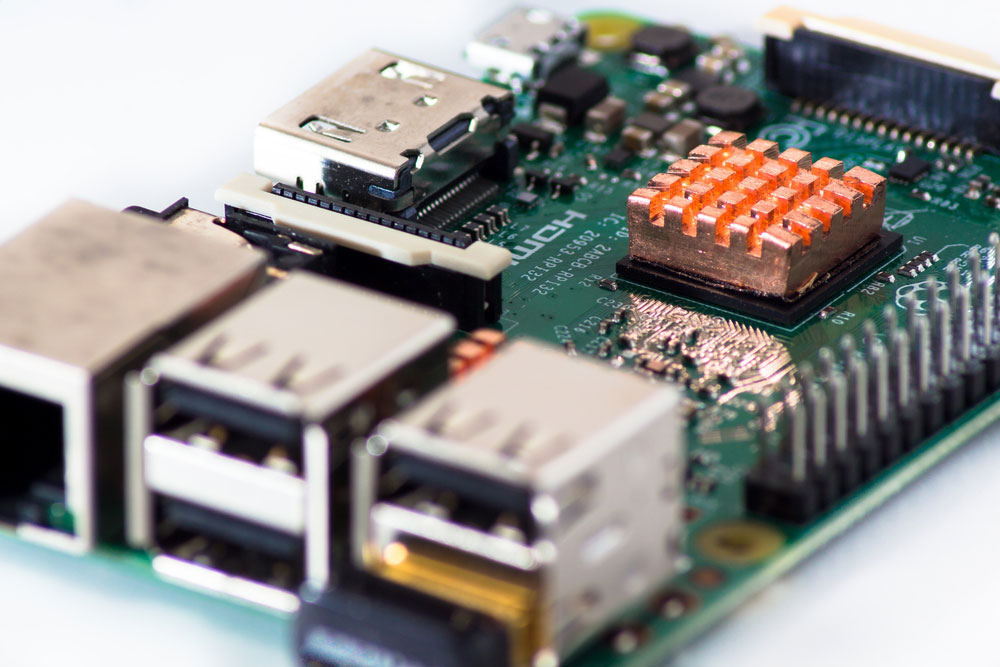
Fig 4: Raspberry Pi single-board computer
Note: If you want fast file transfer speed on external storage disk drives, it would be best to use a Raspberry Pi 4 8GB.
Also, for Raspberry Pi 400 or Raspberry Pi 4, a USB-C power supply and a micro HDMI to standard HDMI cable are necessary.
Assembly Process
Installation of Raspberry Pi OS Lite
Using a Raspberry Pi Imager, install the Raspberry Pi OS Lite file to the microSD card. Here is the installation process:
- First, click on the Raspberry Pi Imager application on the settings menu.
- Then connect an external storage device (16 GB microSD card) to the computer via an SD card adapter.
- Next, select Raspberry Pi OS on the settings menu. Also, open the Advanced Menu button on the settings menu to enable the SSH. In this step, you’ll need to set up a default username and password, as they are handy in accessing network storage.
- For storage, choose the microSD card and select write OpenMediaVault disk image.
Setting up your Raspberry Pi
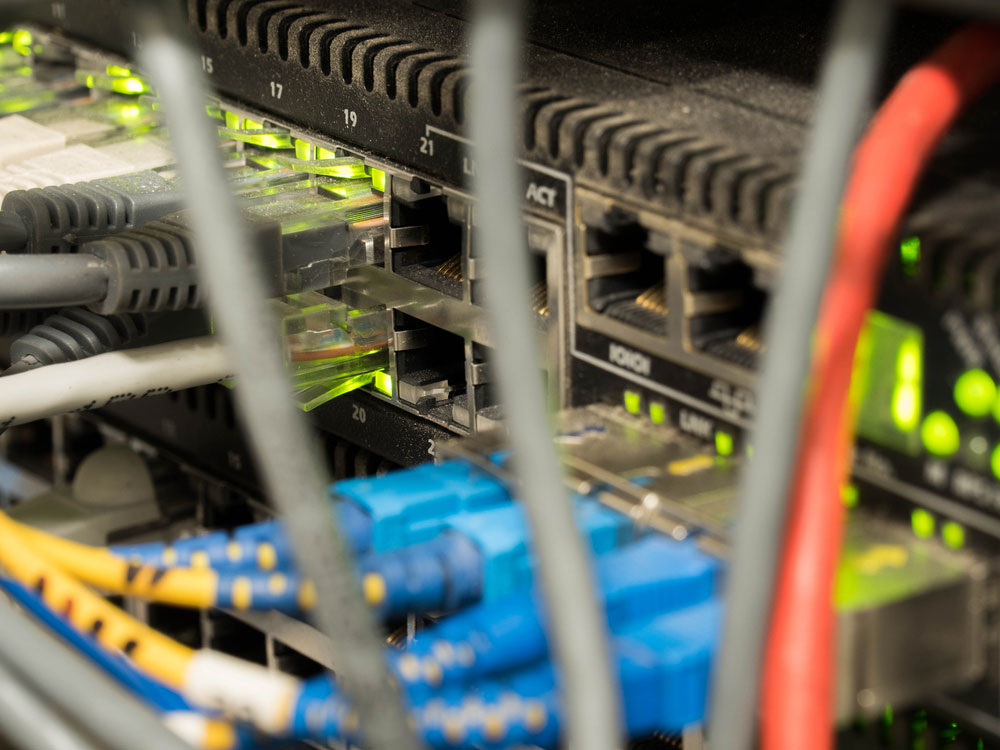
Fig 5: Ethernet cables connected to the internet switch in a server rack.
Connect your Raspberry Pi to a router using an ethernet cable. At the same time, attach the storage to the powered USB hub. Next, connect the storage to the Raspberry Pi and, consequently, the main power.
Retrieving the IP Address
The Raspberry Pi’s IP address is essential in facilitating access via an SSH connection from a PC. Hence, you can access the router’s login details from its surface.
Connect via SSH connection
- For this step, you’ll need to open the Terminal on the PC and then, on the command line, type this code. Also, you need to replace ‘pi’ with the default credentials (default username) that you chose earlier.

- Next, enter the password you made on the Raspberry Pi Imager.
- Additionally, you need to check if the Raspberry is well set by running this code:

- Lastly, reboot your CanaKit Raspberry Pi by running this config file.

OpenMediaVault
We’ll use OpenMediaVault for network storage management. One of its strengths is its web-based interface, which offers a variety of options for advanced users. Also, it is easy to use.
Install OpenMediaVault
- After you’re done booting the CanaKit Raspberry Pi on the command line, type the code/ config file below.

- Next, close the Terminal after installation is complete.
Setting up OpenMediaVault
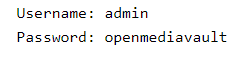
- Type the Raspberry Pi’s IP address on your internet browser address bar.
- Next, enter the following credentials to sign into the OpenMediaVault.
Changing the OpenMediaVault admin password
- Select the settings menu and change the admin password on the right-hand corner.
Network access setup
- Click on ‘storage’ and select ‘Disks’ from the pull-down menu to show all the attached storage. If it’s not visible, confirm if the connections are okay, then reboot the system.
- Next, select ‘Storage’ on the pull-down menu and click ‘File Systems.’
- Then, select ‘Create’ to choose your storage device. Also, for drive format, it’s best to select EXT4 and then click ‘close.’
- Once done, choose the file system to mount it and click ‘apply changes.’
- Also, we need to make a shared folder. From the pull-down menu, select ‘Storage,’ then click ‘Shared Folders’ and choose ‘Create.’
- After creating the shared folder (backup folder), your NAS system is ready for use.
Conclusion
As we’ve seen, a NAS facilitates the storage of files on an external hard drive. Also, using a Raspberry Pi, you can create a storage device for use with USB flash drives in file storage. In case you want to clarify anything from above, talk to us.


