Sometimes, you may come across an aggressive dog while walking in outdoor spaces, leading you to move as far away from it as possible. However, you can take a different approach, which involves protection through a DIY ultrasonic dog repeller. Of course, this device does not harm a human, but instead, it irritates the dogs’ ears. These rely on an electronic circuit to generate high-frequency sound waves. As a result, the canine will either retreat or stop acting aggressively when you aim the repeller in its direction.
Understanding how this device works can prove beneficial in the long run. So, let’s take a look!
Contents
Ultrasonic Dog Repeller: What is It?

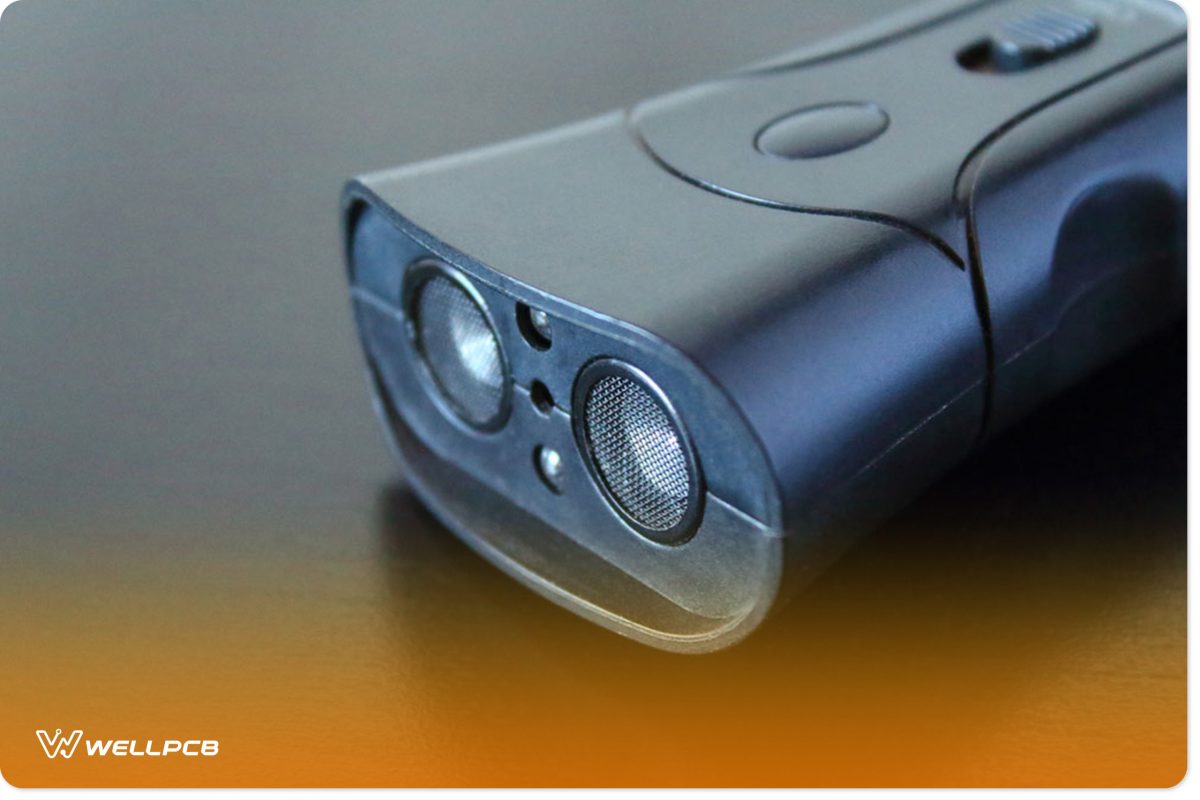
(An ultrasonic dog repeller will keep aggressive dogs away.)
An ultrasonic dog repeller is a device designed to keep stray dogs away in a safe manner. It produces a very unpleasant high-frequency output sound, causing a nearby dog to retreat. The device also features an LED light, which serves as a low-battery indicator. If the light dims, then that means the device needs a battery replacement.
How Does an Ultrasonic Dog Repeller Work?

(an ultrasonic dog repeller.)
When you point the device toward a dog and press the button, it will emit a high-frequency sound that measures 45 kHz. Only dogs and other animals can hear this audible sound wave due to their hearing sensitivity. The ultrasonic wave levels slowly increase while pressing the button. Of course, this will make it uncomfortable for the dog, causing them to stay away.
Benefits of the Ultrasonic Dog Repeller
Some benefits of an ultrasonic dog repeller include:
- Keeps you safe against stray dogs
- Very easy and convenient
- Keeps other animals away
- Training device
- Humane
How to Make an Ultrasonic Dog Repeller
You can build an ultrasonic dog repeller. Gather the required components and follow the steps below:
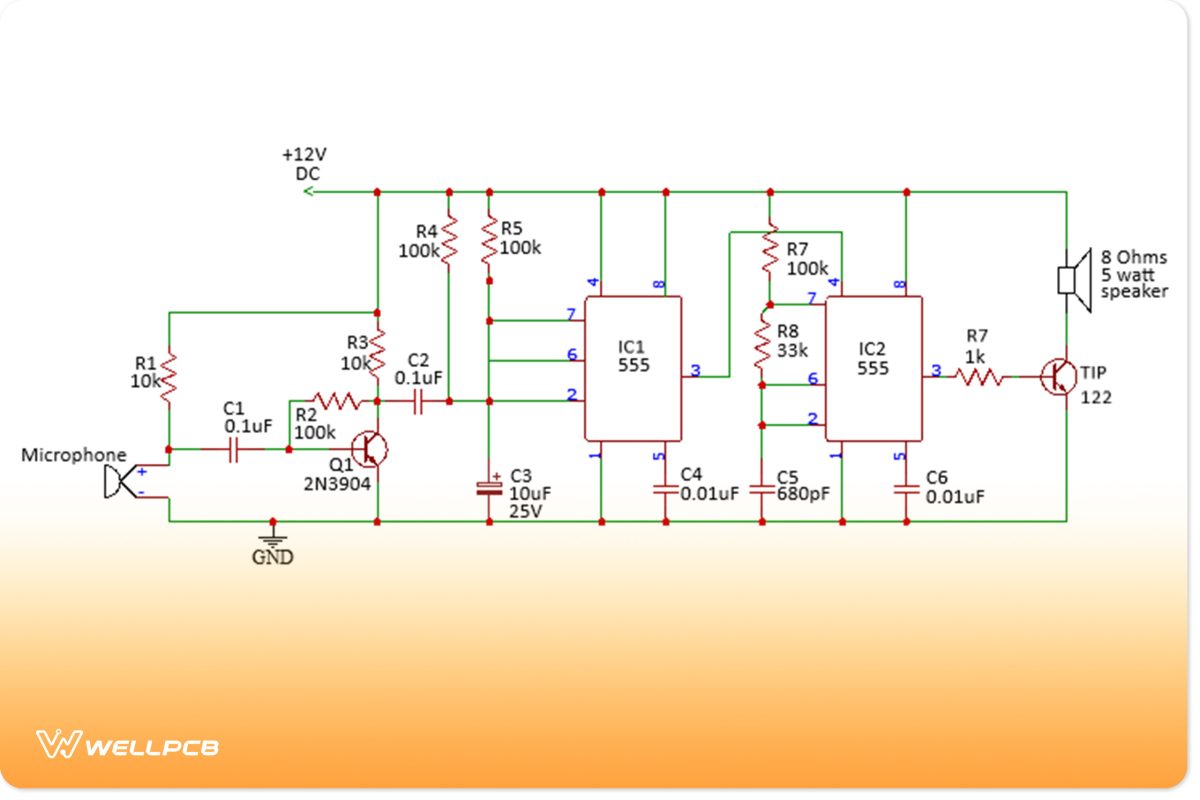
Ultrasonic dog repeller circuit diagram

(Dog repeller circuit diagram.)
Electronic components list:
- 10k Resistor – 2x
- 100k Resistor – 4x
- 33k Resistor – 1x
- 1k Resistor – 1x
- 0.1uF disc ceramic capacitor – 1x
- 1uF/25v capacitor – 1x
- 10uF/25v capacitor – 1x
- 0.01uF ceramic capacitor – 2x
- 680pF ceramic capacitor – 1x
- BC547 transistor – 1x
- TIP122 transistor – 1x
Steps:
Follow the steps below to create the circuit. Use the circuit diagram as a reference.
Step one:
First, you will need to add an electrical microphone to the circuit. Connect the opposing end to the ground. Meanwhile, you will need to connect the R1 10k resistor and the C1 capacitor to the positive end. Next, attach an R2 100k resistor to C1’s negative lead.
Step two:
Add a 2N3904 transistor and connect the emitter to the ground. Next, click the base terminal to C1’s negative lead. Next, connect the collector terminal to C2’s positive lead. Meanwhile, C2’s negative information relates to the 555 timer IC’s pin 2. Afterward, click the R3 10k resistor to C2 and R1. Connect the R4 100k resistor to the C2 capacitor and the 12VDC power source.
Step three:
Next, add the 555 timer IC1 onto the circuit, as illustrated in the diagram. Then, connect pin 1 to the ground. Connect the R3 100k resistor to IC1’s pin seven and the C3’s positive lead, connecting to pin 6. Form a connection with the C4 capacitor and IC1’s pin 5.
Step four:
Afterward, add the 555 timer IC2 to the circuit. Meanwhile, pin 3 connects to the 555 timer IC2’s pin 4. Next, connect R7 to the input source and IC2’s pin 7. You will also need to click the R8 resistor to pins 7 and 6. Then, connect the C5 capacitor to pins 2 and 6. Meanwhile, pin 1 connects to the ground. Afterward, click the C6 capacitor to pin 4. Next, attach the R7 resistor to pin three and the TIP 122 transistor’s base terminal. Then, connect the collector terminal to the 8 Ohms speaker, which connects to the input. Finally, the transistor’s emitter terminal must connect to the ground.
Working principle:
Overall, the circuit works through three different stages to produce a high-frequency sound. Stage one, known as the sound sensor and preamplifier circuit, features a microphone and Q1 transistor. The monostable stage relies on a 555-timer IC along with other components. Lastly, stage three, called the ultrasonic sound generator stage, utilizes a speaker to output the sound.

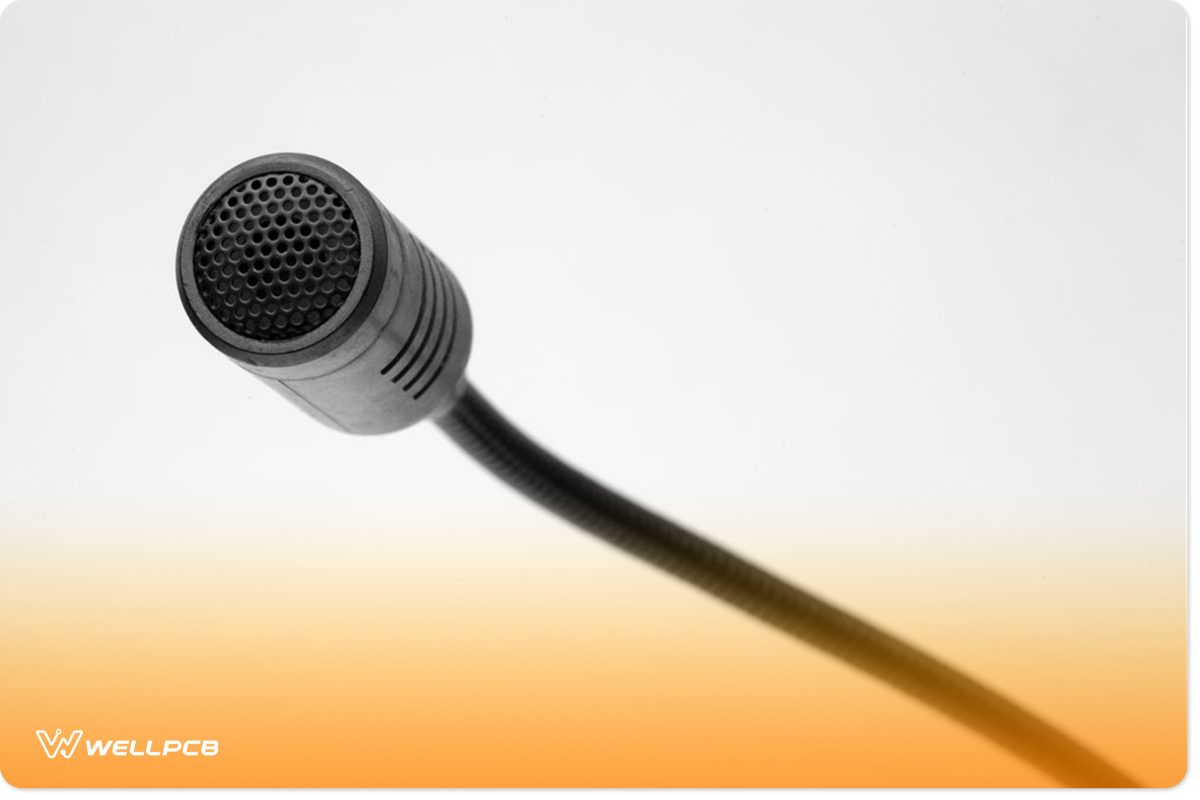
(The circuit features a microphone, which detects a dog’s barking.)
The microphone will pick up a dog’s barking sequence. Afterward, it triggers the Q1 transistor’s base to produce a low and high pulse. Then, the transistor generates an amplified signal, supplying it past the C2 capacitor, causing the monostable IC1’s pin 2 to activate. As a result, pin three will switch to high for a certain amount of time, as determined via R5 and C3 values.
Pin 3’s high setting activates IC2’s pin 4, distributing the ultrasonic pulse to pin 3. Next, the TIP122 transistor amplifies this pulse before driving it to the speaker. In effect, the speaker vibrates and emits the ultrasonic sound in the dog’s direction, keeping it away. This circuit detects any barking level, so it works with any dog.
What are the Problems Associated with Ultrasonic Dog Repellent?

(These ultrasonic dog repellers come with some issues.)
Some issues exist with an ultrasonic dog repellent. For example, you might find it difficult to tell whether or not the device operates due to the emitted frequency level. And that becomes a problem since humans cannot hear those feedback sounds.
If a canine is still chasing you, then that means the device stopped working correctly or the dog resists high-pitched frequencies. As a result, this makes it difficult to determine if it operates during a live situation.
Meanwhile, higher frequency dog repellent models contain a narrow beam width, causing aiming difficulties. Ultimately, this causes a significant burden when an aggressive canine chases you because you must stay precise.
Summary
If you want to stay safe from an aggressive canine, then an ultrasonic dog repeller will do the trick! These generate an audible sound that only dogs and other animals can hear. It relies on essential components, including resistors, capacitors, transistors, and a 555-timer IC for this process. Once you point the device toward the dog, the speaker will emit that sound, causing a strong reaction. Of course, humans cannot hear such a low frequency, so it remains harmless.
Do you have any questions regarding a dog repeller circuit? Feel free to contact us!


