
Contents
What Is a Flexible Resistor?
The Flexible resistor, also known as a simple flex sensor, does what its name implies—it bends.
In other words, this resistor can change its resistance capacity whenever you bend it. Additionally, this sensor device is excellent for people working in different fields:
- Angular displacement measurement
- Flexible memory device
- Medical devices

Medical equipment and devices
- Resistor cell architecture
- Flexible electronics
- Random-access memory

PC Random Access Memory
- Flexible wire resistors
- Motion-sensing game development
- Organic memory devices
- Robotics

Automation robot arms
Nonvolatile memory applications
And many more.
Without a doubt, the applications of the flexible resistor are limitless.
Furthermore, Flexible connection wire resistors have two integral components (sizes): 2.2“and 4.5”. Though the dimensions are not the same, they still perform the same primary function. Similarly, you can divide flexible resistors based on the level of resistance. Thus, we have high resistance, low resistance, and medium resistance sensors.
The resistors have two classifications, which are unidirectional and bidirectional.
In essence, you can only bend Unidirectional flex resistors in one direction. But that’s not all. You’ll damage your resistor if you try turning it in the opposite direction. On the other hand, you can bend bidirectional resistors in both directions. Hence, it has no actual resistance or substrate distortion.
Additionally, the flexible resistor has a bending limit. If you go past this bend limit, you risk damaging your flex resistor, even though it comes with high-density all-organic memory cell arrays.
With this in mind, it’s best to choose the type that the cell exhibits excellent rewritable switching characteristics. Most importantly, choose one with cell density that best fits your flexible density needs. Here, we’ll focus on the 2.2” flexible resistor, which comes with adjacent cells and the density of cells.
For this reason, we’ll dive deeper into the specifications of the 2.2” flexible resistor and its cell interference.
To begin with, the 2.2” flexible has a 10k Ohm resistance and a +/-30% tolerance range. In other words, two similar flex resistors may not have the same resistance to the angular bend angle or advanced cell architectures. Indeed, this variable will be important when scaling your design.
The best part is that the sensor device has a huge life cycle. Also, it can withstand temperature ranges of -35 degrees to +80 degrees Celsius. Plus, its max and continuous powers are 1 watts and 0.5 watts, respectively, without a leakage current.
How do Flex Resistors Work?
Before we go into how this organic electronics device works, it’s essential to learn how to configure the pins. The flexible resistor is a device with two terminals, which we call pins.
In contrast to other resistors, it lacks polarized terminals (diodes).
Icon of a terminal diode
Thus, it has no positive or negative. Here’s how to configure the P1 and P2 (pin 1 and pin 2):
You can connect the P1 to a positive power source and connect the P2 to a ground source.
How it Works
For a flexible resistor to work, you need conductive ink between two plastic substrate films. Next, place electrodes (diode material) on both sides of the conductive ink. Microscopic particles are what make the conductive ink electrically conductive.
Again, when you keep the flex sensor linear, it will have a standard resistance. However, when you bend it at a 45-degree and 90-degree angle, the resistance will move as high as two times and four times the usual resistance, making the sensors active materials. In short, the flexible resistor changes its resistance according to the flex angle.
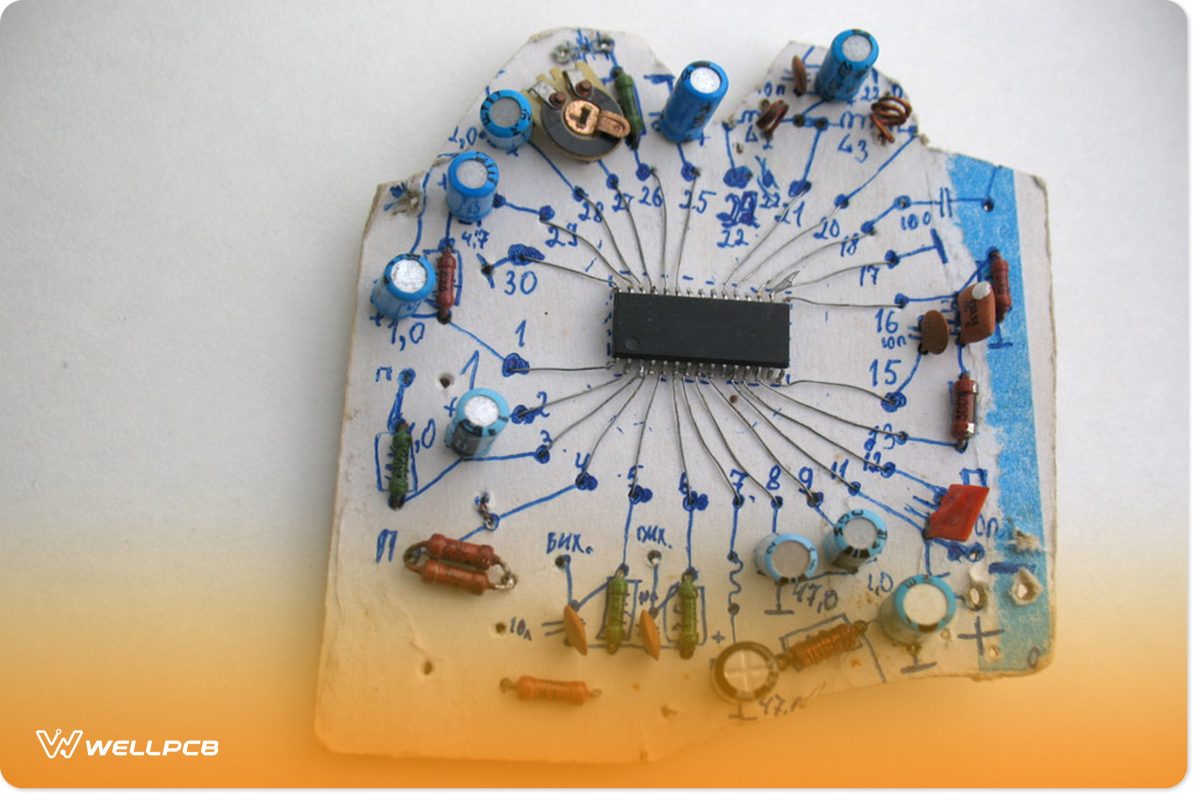
Flexible resistor and capacitors on a cardboard
Basic Design of Flex Resistor
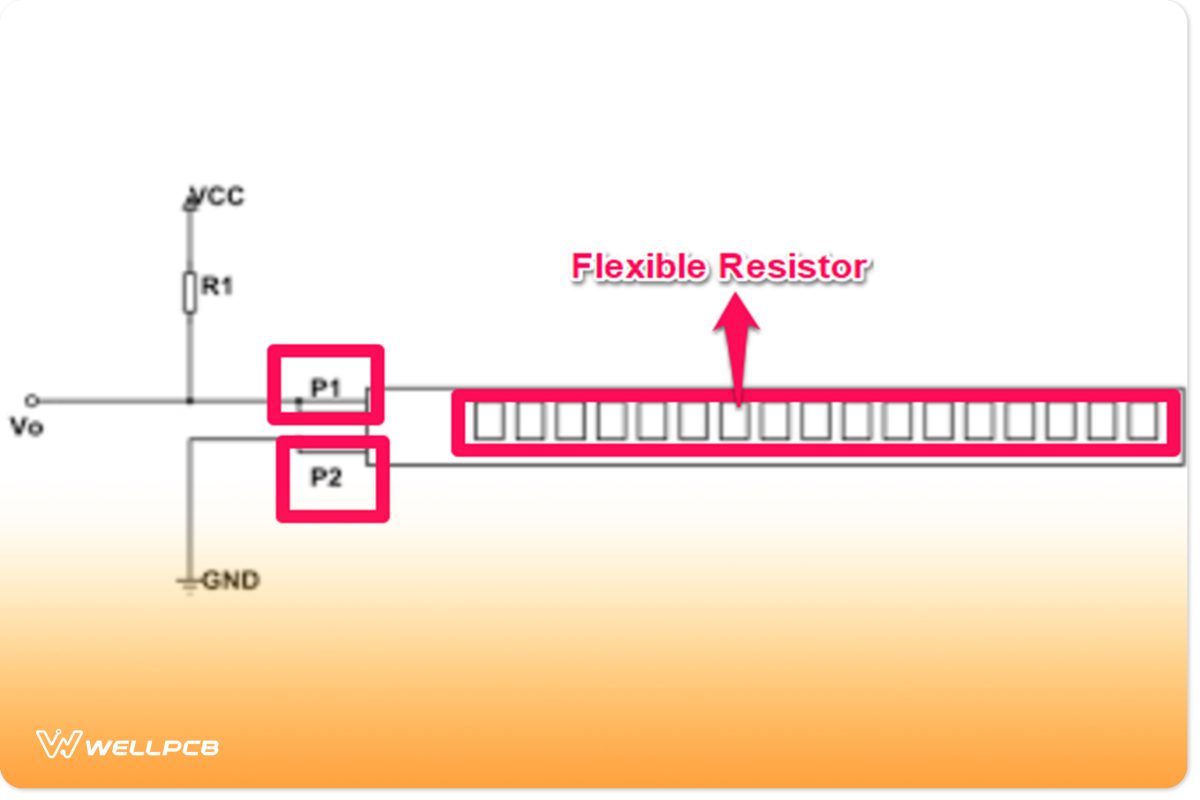
Basic flex resistor design
The above diagram shows that the R1 is a constant resistor, and the flex resistor acts as the variable resistor. Additionally, the Vo represents the voltage output as well as the voltage across the entire flex resistor.
So;
Vo = VCC (Rx/(R1+Rx))
Rx = Flex resistor resistance
To clarify, when you bend the flex resistor, the terminal resistance increases. Thus, it affects the voltage divider circuit. Moreover, this increases the drop across the Flex resistor. Plus, with every rise in the bend degree, the Vo increases linearly.
How to Use the Flexible Resistor with Arduino
It’s pretty easy to interface the flexible sensor with an Arduino board. Firstly, connect the 47K pull-down in series with the flexible resistor so you can create the voltage divider circuit. Next, connect the point between the pull-down resistor and the flexible resistor to the A0 ADC input of the Arduino board.
For instance, here’s a simple angle-sensing project for a flex resistor with Arduino organic materials. Connect three LED lights to your board (red, green, blue). Now, if the resistor is linear, the blue light will shine. If you flex to a 45-degree angle, the green lights will illuminate. Likewise, if you flex it greater than 45 degrees, the red light will illuminate.
Where to Use a Flexible Resistor
To explain this, I will give two cases:
Firstly, when you want to check if the surface of your device is level or you want to make a device that checks if the window is open or not, you can use the flexible resistor. So, if you put a flex sensor at the edge of your window and open it, the resistor gets flexed.
Secondly, when you need to measure the angle change of any instrument, the flexible resistor will get the job done.
Final Words
This article provides everything you need to learn about flexible resistors. The resistor has bendable capabilities that make it a variable resistor with different resistance. And it comes in handy for digital devices.
Remember, you shouldn’t bend the resistor in the direction of the conductive ink so you don’t damage it.
In summary, the more you bend the resistor, the more resistant it becomes. But be careful so you don’t hit the limit.
I hope this article helps you with the information you need for that project. Feel free to contact us if you need more information.


