Gather your Materials
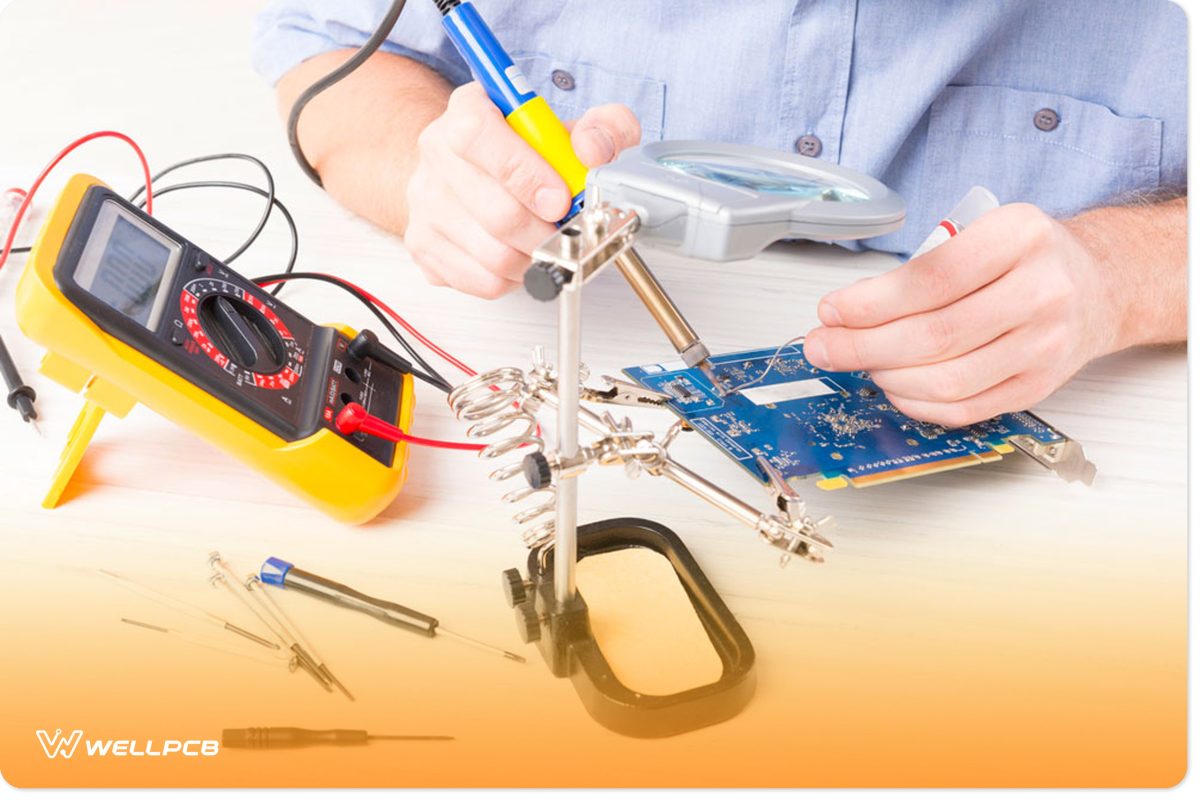
You will require gathering these:
- Hex Blade
2. Steel Rods (~5mm)
3. Drilling machine
4. Wood drill bits
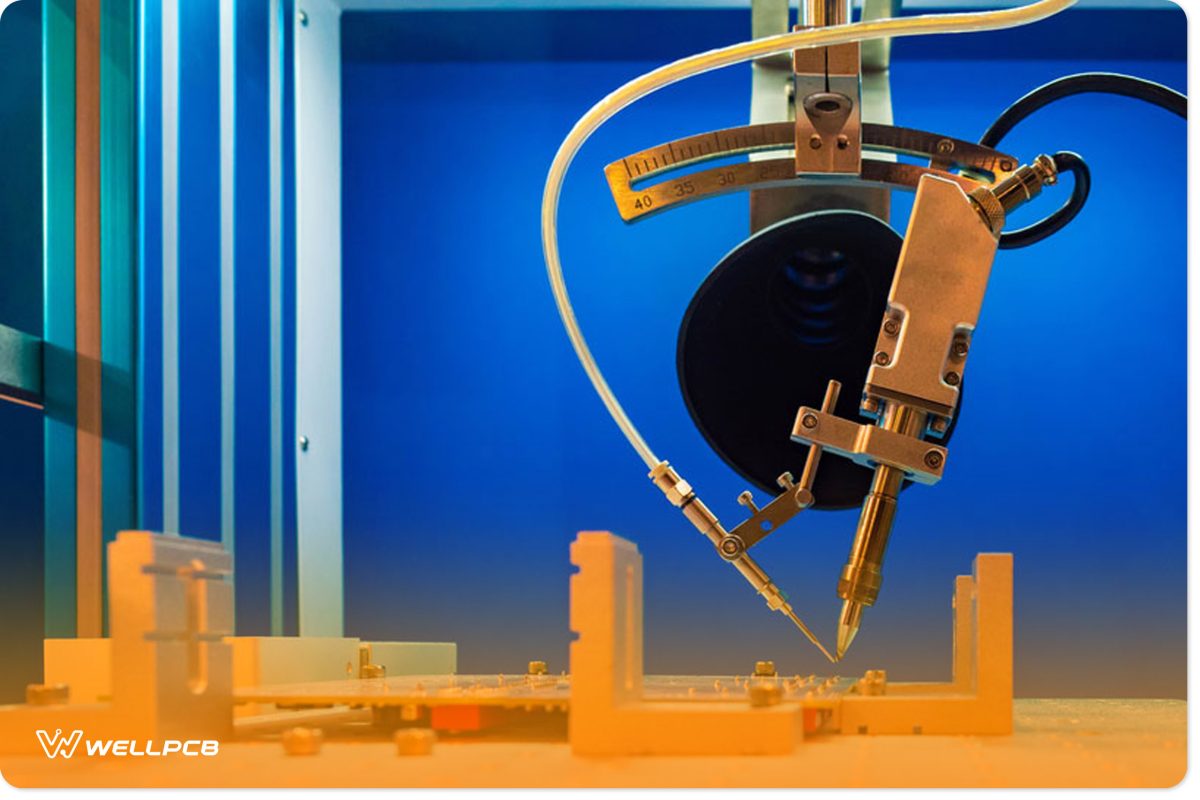
5. Crocodile chips
6. Spring
7. Measuring scale
8. Screws and Nut bolts
9. Scrap Wood
10. Adhesive
Apart from these, you will also require gathering essential tools like hammers, pliers, screwdrivers, etc.
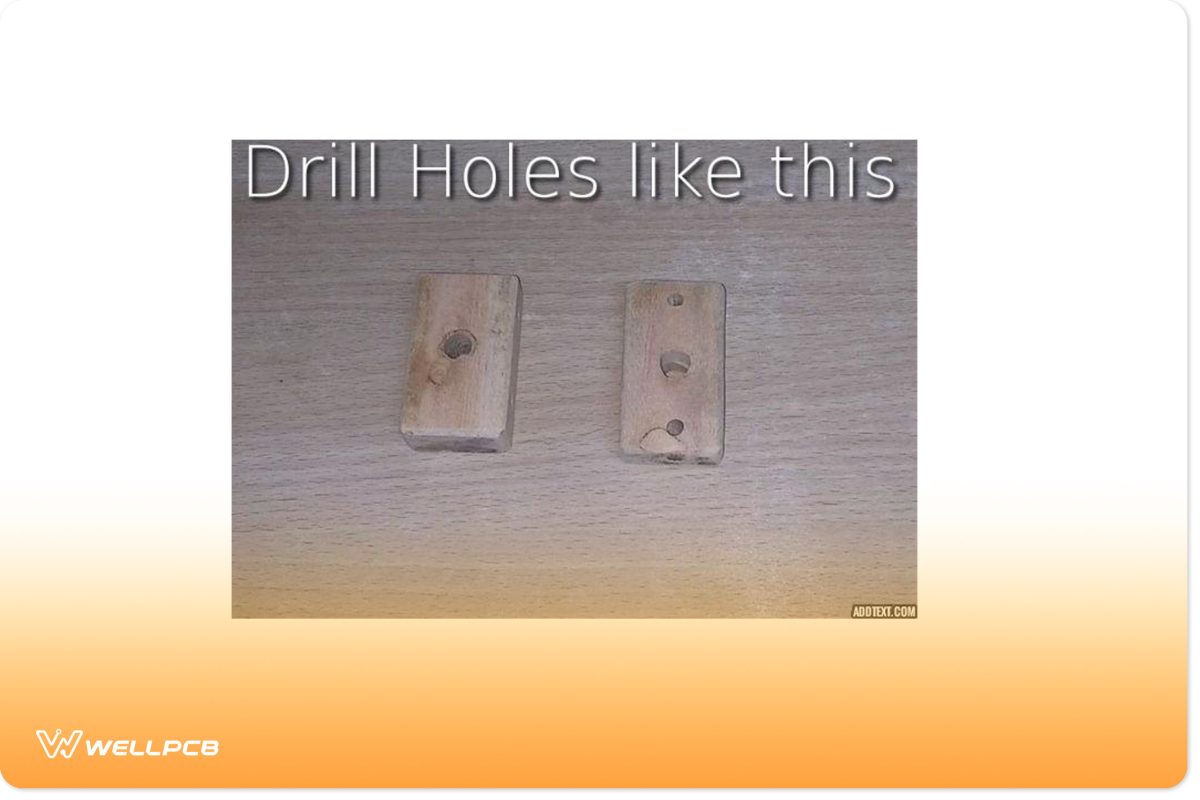
Creating Wooden Parts and Metal Rods:
In this part of PCB holder creation, three wooden parts are involved. Cut three pieces of dimension (8cmx3cmx2cm) with your hex blade.
Then, drill two holes in the surface. These are for rods. Drill two other spots on each vertical and horizontal side. These are for nuts and bolts.
Add another hole for nuts and bolts 10 mm. For holding the crocodile clips, drill two holes on a wooden horizontal surface.
We require a net of 4 metal rods (Use plastic rods if metal ones aren’t available). Have a pair of 15 cm and 8 cm rods available.
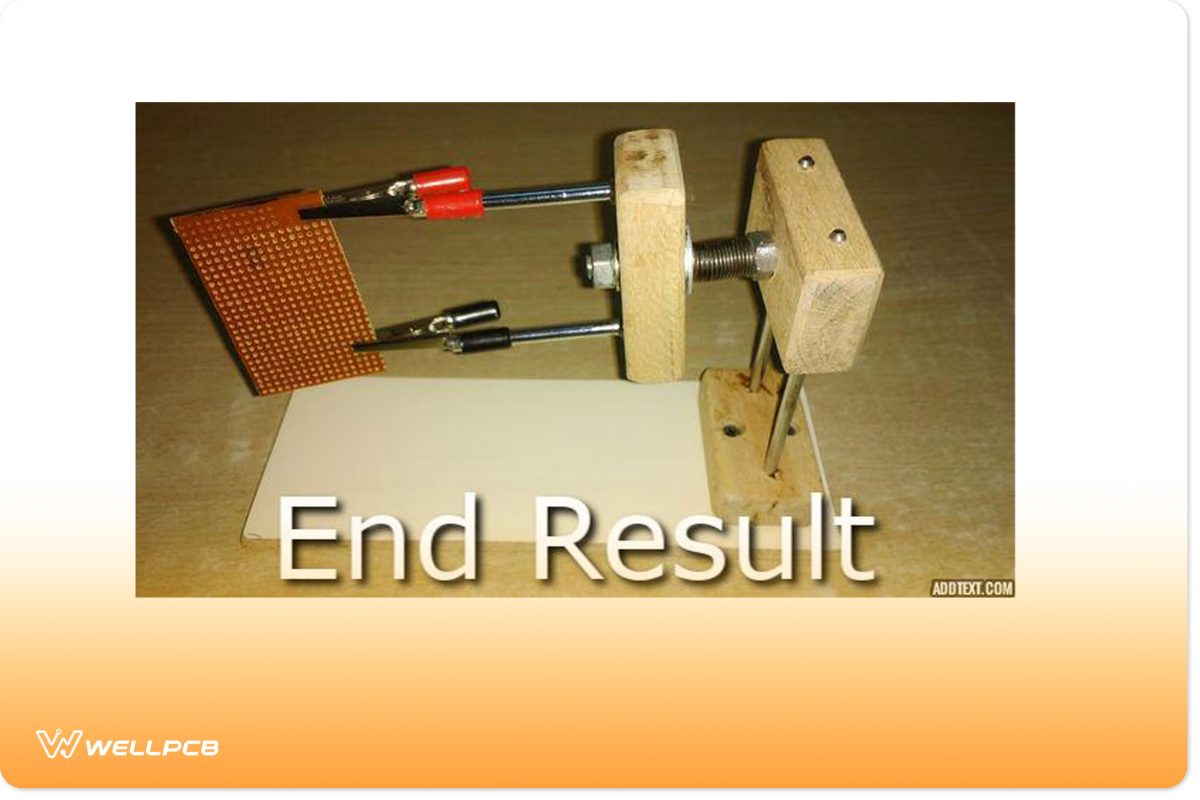
Assembly of PCB holder:
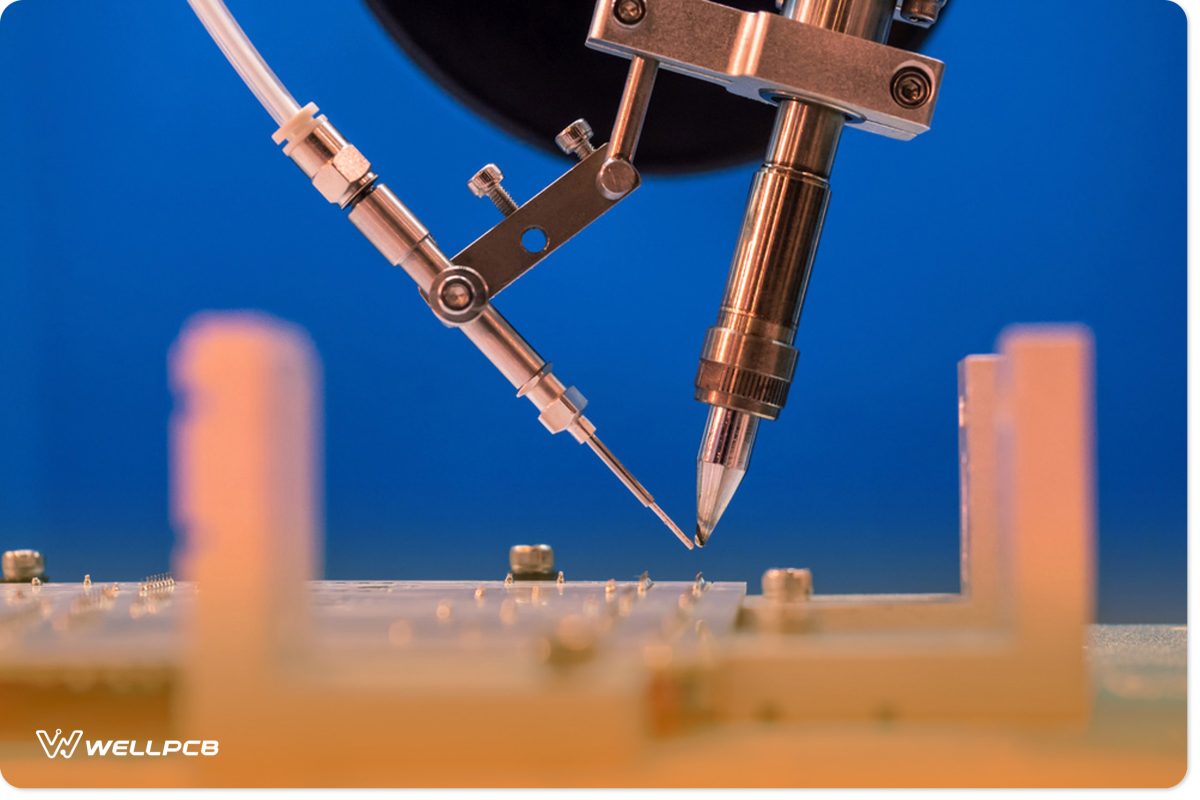
You are now in the assembling stage of the PCB holder. Screw the wooden piece tightly onto a wooden base of the size of your choice. Now, take a nut of 2 inches and insert it into the 2nd wooden piece.
Take a large spring of your choice (preferably 2.5 inches) and attach it to 3rd wooden piece with a tight nut. The moving part is 3rd wooden piece. It is used to rotate and hold your board for PCB soldering. Attach the metal rods and rods having crocodile clips. Use epoxy glue.


