Contents
What is Thermally Conductive Adhesive?
In general, thermally conductive adhesive bonds electronic components that produce heat, which dissipates after application. Using this lessens thermal exertion to stabilize performance and keep electronic components running smoothly.
The best thermal adhesive contains silver or graphite but typically has synthetic epoxy resins amplified with inorganic filler. It may also include the following materials: silicone, metal oxides, metals, or ceramic.
Thermally conductive adhesive provides high durability, excellent metal adhesiveness, and decent plastic adhesiveness. It comes in the form of thermal glue or adhesive tape.
Thermal Adhesive Application
Heat sink:

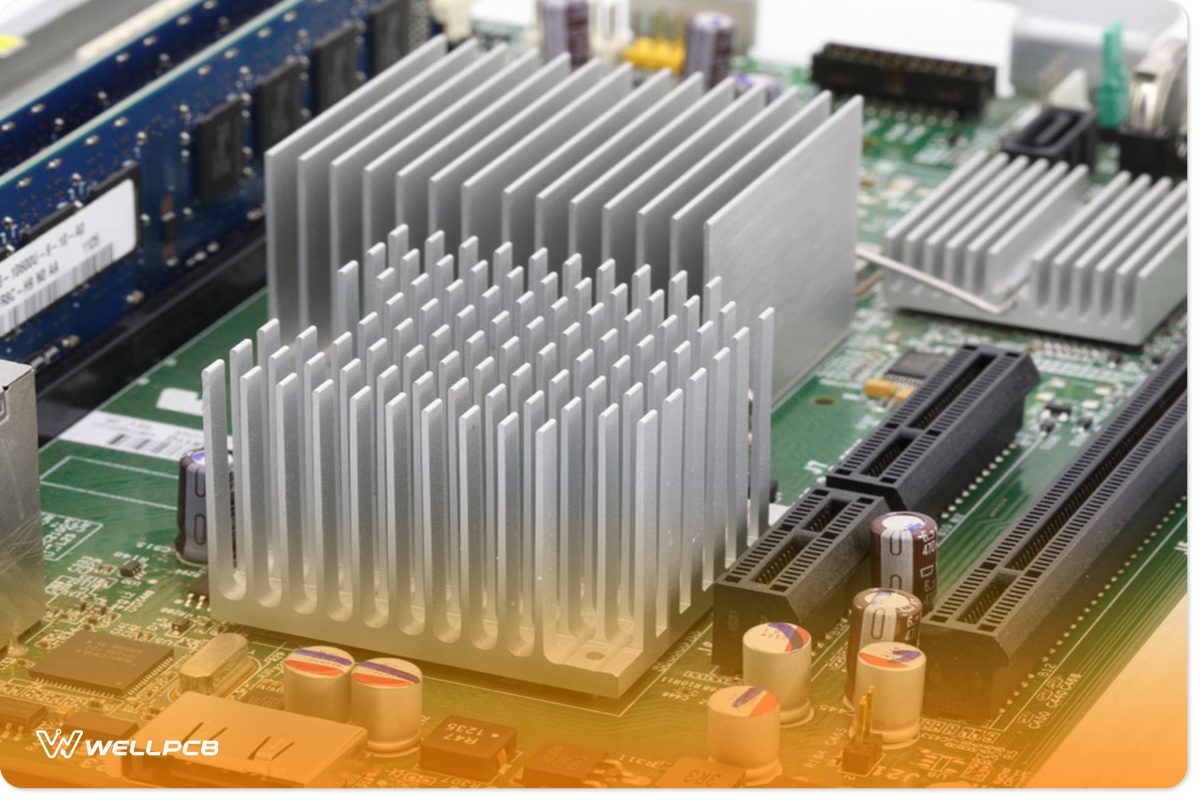
Thermal adhesive dissipates heat and bonds electronic components to a heat sink if it does not mount.
CPU:

A CPU requires an application of thermal adhesive if attaching a heat sink on top. It helps to fill in tiny cracks that may contain particles.
Power supply:

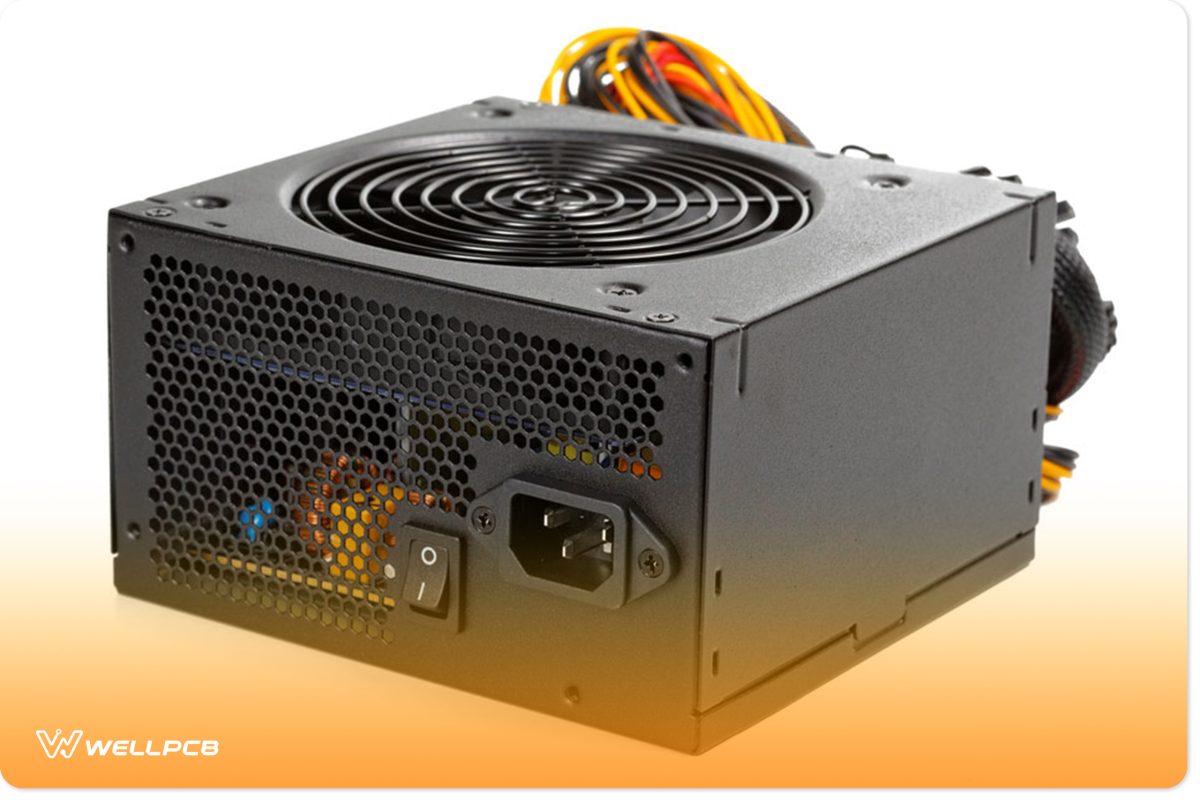
A thermal adhesive encapsulates and attaches power supply components. Additionally, thermal adhesives secure mechanical mechanisms that dissipate heat from aluminum fins, graphite, heat spreaders, and delicate parts.
Temperature sensors:

By using thermal adhesive, you can connect temperature sensors to an enclosure or reactor.
How do you Apply Thermal Adhesive?
Follow these steps to apply thermal adhesive between the heat sink and CPU:
First, you should ensure no thermal adhesive pads, tape, glue, or adhesive sets between the heatsink and CPU. The other components should remain clear when you apply the adhesive. If not, place a piece of masking tape on top of the component. This keeps it protected. Place some silicone on the chip leads to keep excess adhesive clear.
Using isopropyl alcohol and an alcohol pad, clean the mating surfaces. Then, wipe it off with paper towels.
Add a thin layer of adhesive on the CPU’s top surface. If you have a stock CPU or heatsink, then a 0.004” to 0.008 thickness layer should suffice. An encased CPU and heatsink need a thinner layer. Put the heatsink on top of the CPU. Secure the components and apply pressure to the adhesive.
Thermal Adhesive vs. Thermal Paste

While thermal adhesive bonds heat sinks onto a circuit, it contains varying features for everyday application compared to the thermal paste. As we already know, it consists of metallic or inorganic filler to provide extra strength when bonding components.
The benefits of thermal paste are appealing. It’s a popular choice for bonding between heat sinks and heat sources, such as a CPU. Moreover, it fills up tiny spaces or gaps in the area where it’s applied. Doing so ensures highly effective heat transfer and dissipation.
Thermal paste differs because you must apply it between a heat sink and the heat-generating electronic component. This helps to keep heat away from the CPU by transferring it to the heat sink. That heat is then dispersed from electronic components, keeping them cool.
Compared to thermal adhesive, the paste’s bonding compound does not contain any extra strength when applied between the CPU and heat sink.
How to Remove Thermal Adhesive
Use rubbing alcohol or a degreaser to remove thermal adhesive by scrubbing and cleaning the surface thoroughly. Wipe it off with paper towels before it completely dries. You can also apply heat and pry off the adhesive.
Where to buy thermal adhesive?
You can purchase thermal adhesive from an electronic or a PC store.
FAQs:
Q1: Can thermal paste be used as glue?
No. Thermal paste is for heat dissipation.
Q2: How long does it take for thermal glue to dry?
It can take between 5 and 24 hours for thermal glue to dry.
Conclusion:
Owning thermal adhesive provides some key benefits. It bonds electronic components and dissipates heat. As you’ve read from this article, the application/removal process is straightforward. You must clean off the electronic component before applying thermal adhesive. If you have any questions regarding thermal adhesive, feel free to contact us!


